Configuring the Function Descriptor for the Debit Transaction
In order to use the Debit Transaction Type, a new 'EFTPOS DEBIT' Tender needs to be configured via the Function Descriptors function.
Go to: Setup > Function Descriptors.
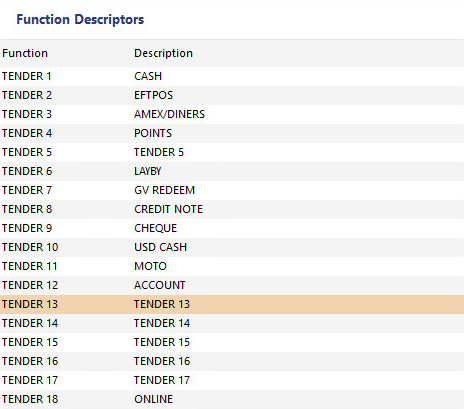
Find the next available Tender that is not currently in use.
Unused Tenders will show a Description of "TENDER X", where X is the number of the tender.
You can allocate any unused tender for the purpose of the EFTPOS DEBIT function, however, we recommend using the next available tender.
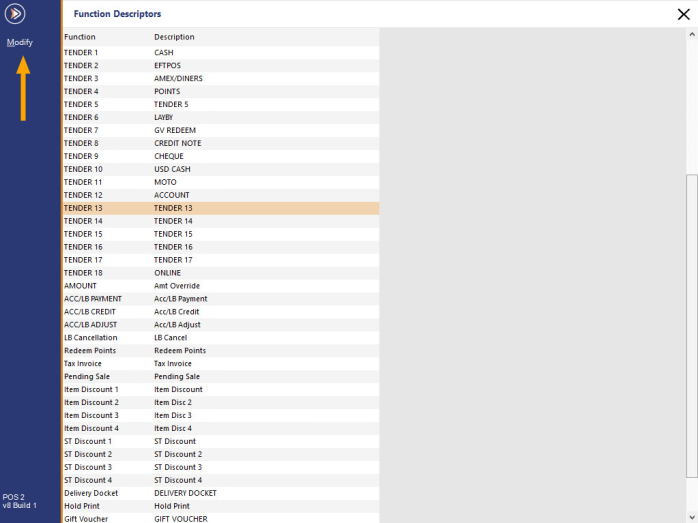
In the below example, the next available tender is TENDER 13 and is shown as highlighted.
Select the next available tender then press the Modify button on the top-left corner of the Function Descriptors window.
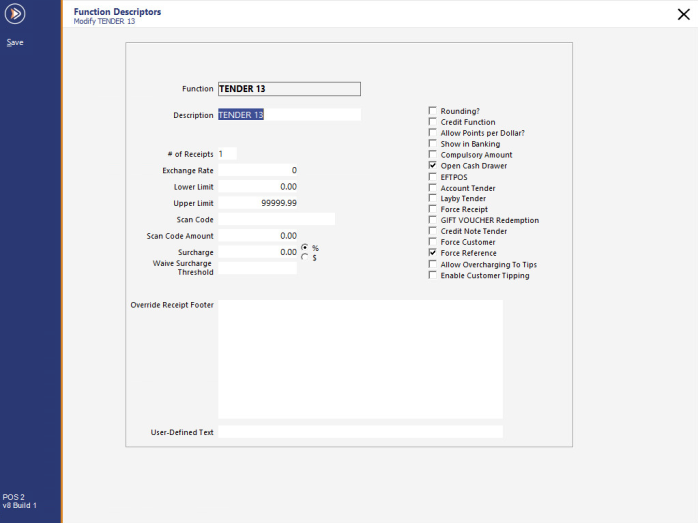
The Function Descriptors window for the selected Tender will be displayed.
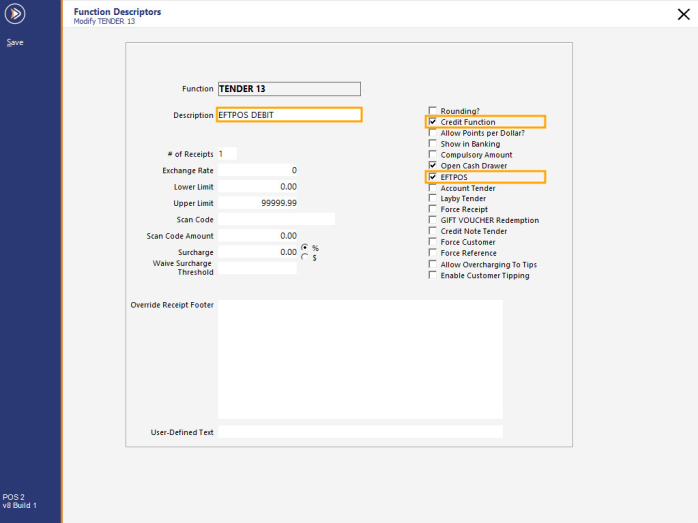
Set the Description to "EFTPOS DEBIT" and enable checkboxes for "EFTPOS" and "Credit Function".
You may want to enable any other checkboxes that are required for this tender.
Once you have finished making the required changes, press the "Save" button on the bottom right corner of the window to save the changes.
Close the Function Descriptors window then continue to the next step below.
Enabling the EFTPOS DEBIT Tender
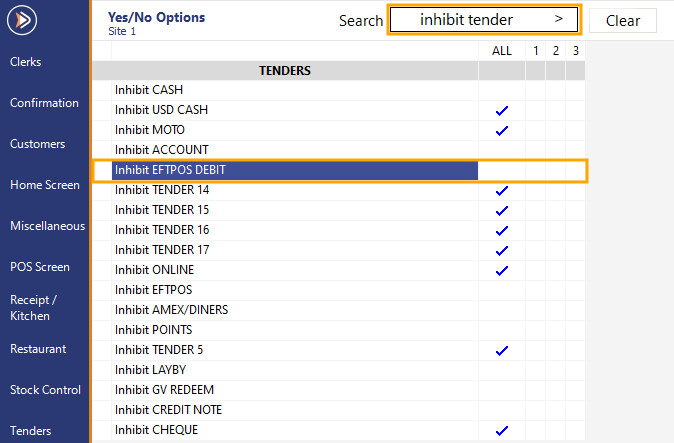
Before the EFTPOS DEBIT tender can be used to finalise a sale in Idealpos, it must first be enabled in the Yes/No options.
Go to: Setup > Yes/No Options > Tenders
Enter "inhibit tender" into the "Enter Keyword Search" field then remove the tick under the "All" column for the newly created tender.
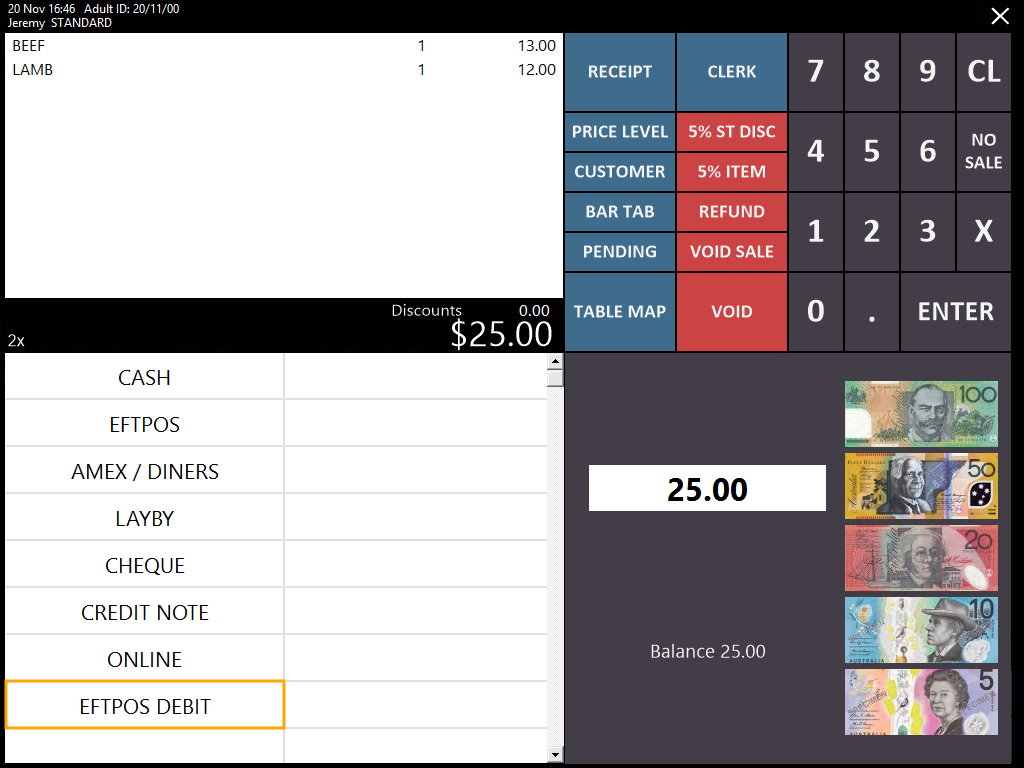
Doing this will enable the tender to appear on the Tender screen in Idealpos.
